Engineer, Builder, Writer
Introduction
In this article, we're going to create a basic CI/CD pipeline for a typical Python package. The text focuses on practical aspects and should be enough to get you started.
What is CI/CD
Skim through this paragraph if you're a veteran.
CI/CD stands for Continuous Integration / Continuous Deployment. It is an approach to software development that aims to build and deploy the code with each change (aka continuously).
Benefits of a CI/CD pipeline
While introducing an automatic workflow might be a technical challenge for an unaccustomed team, it brings enough benefits to provide a handsome return on investment. These include:
You can automate boring, repetitive, manual stuff
Quality can be maintained by introducing automatic checks (static analysis, linting, testing)
Development can happen at higher velocity when you have processes in place
Engineers can focus on actual development
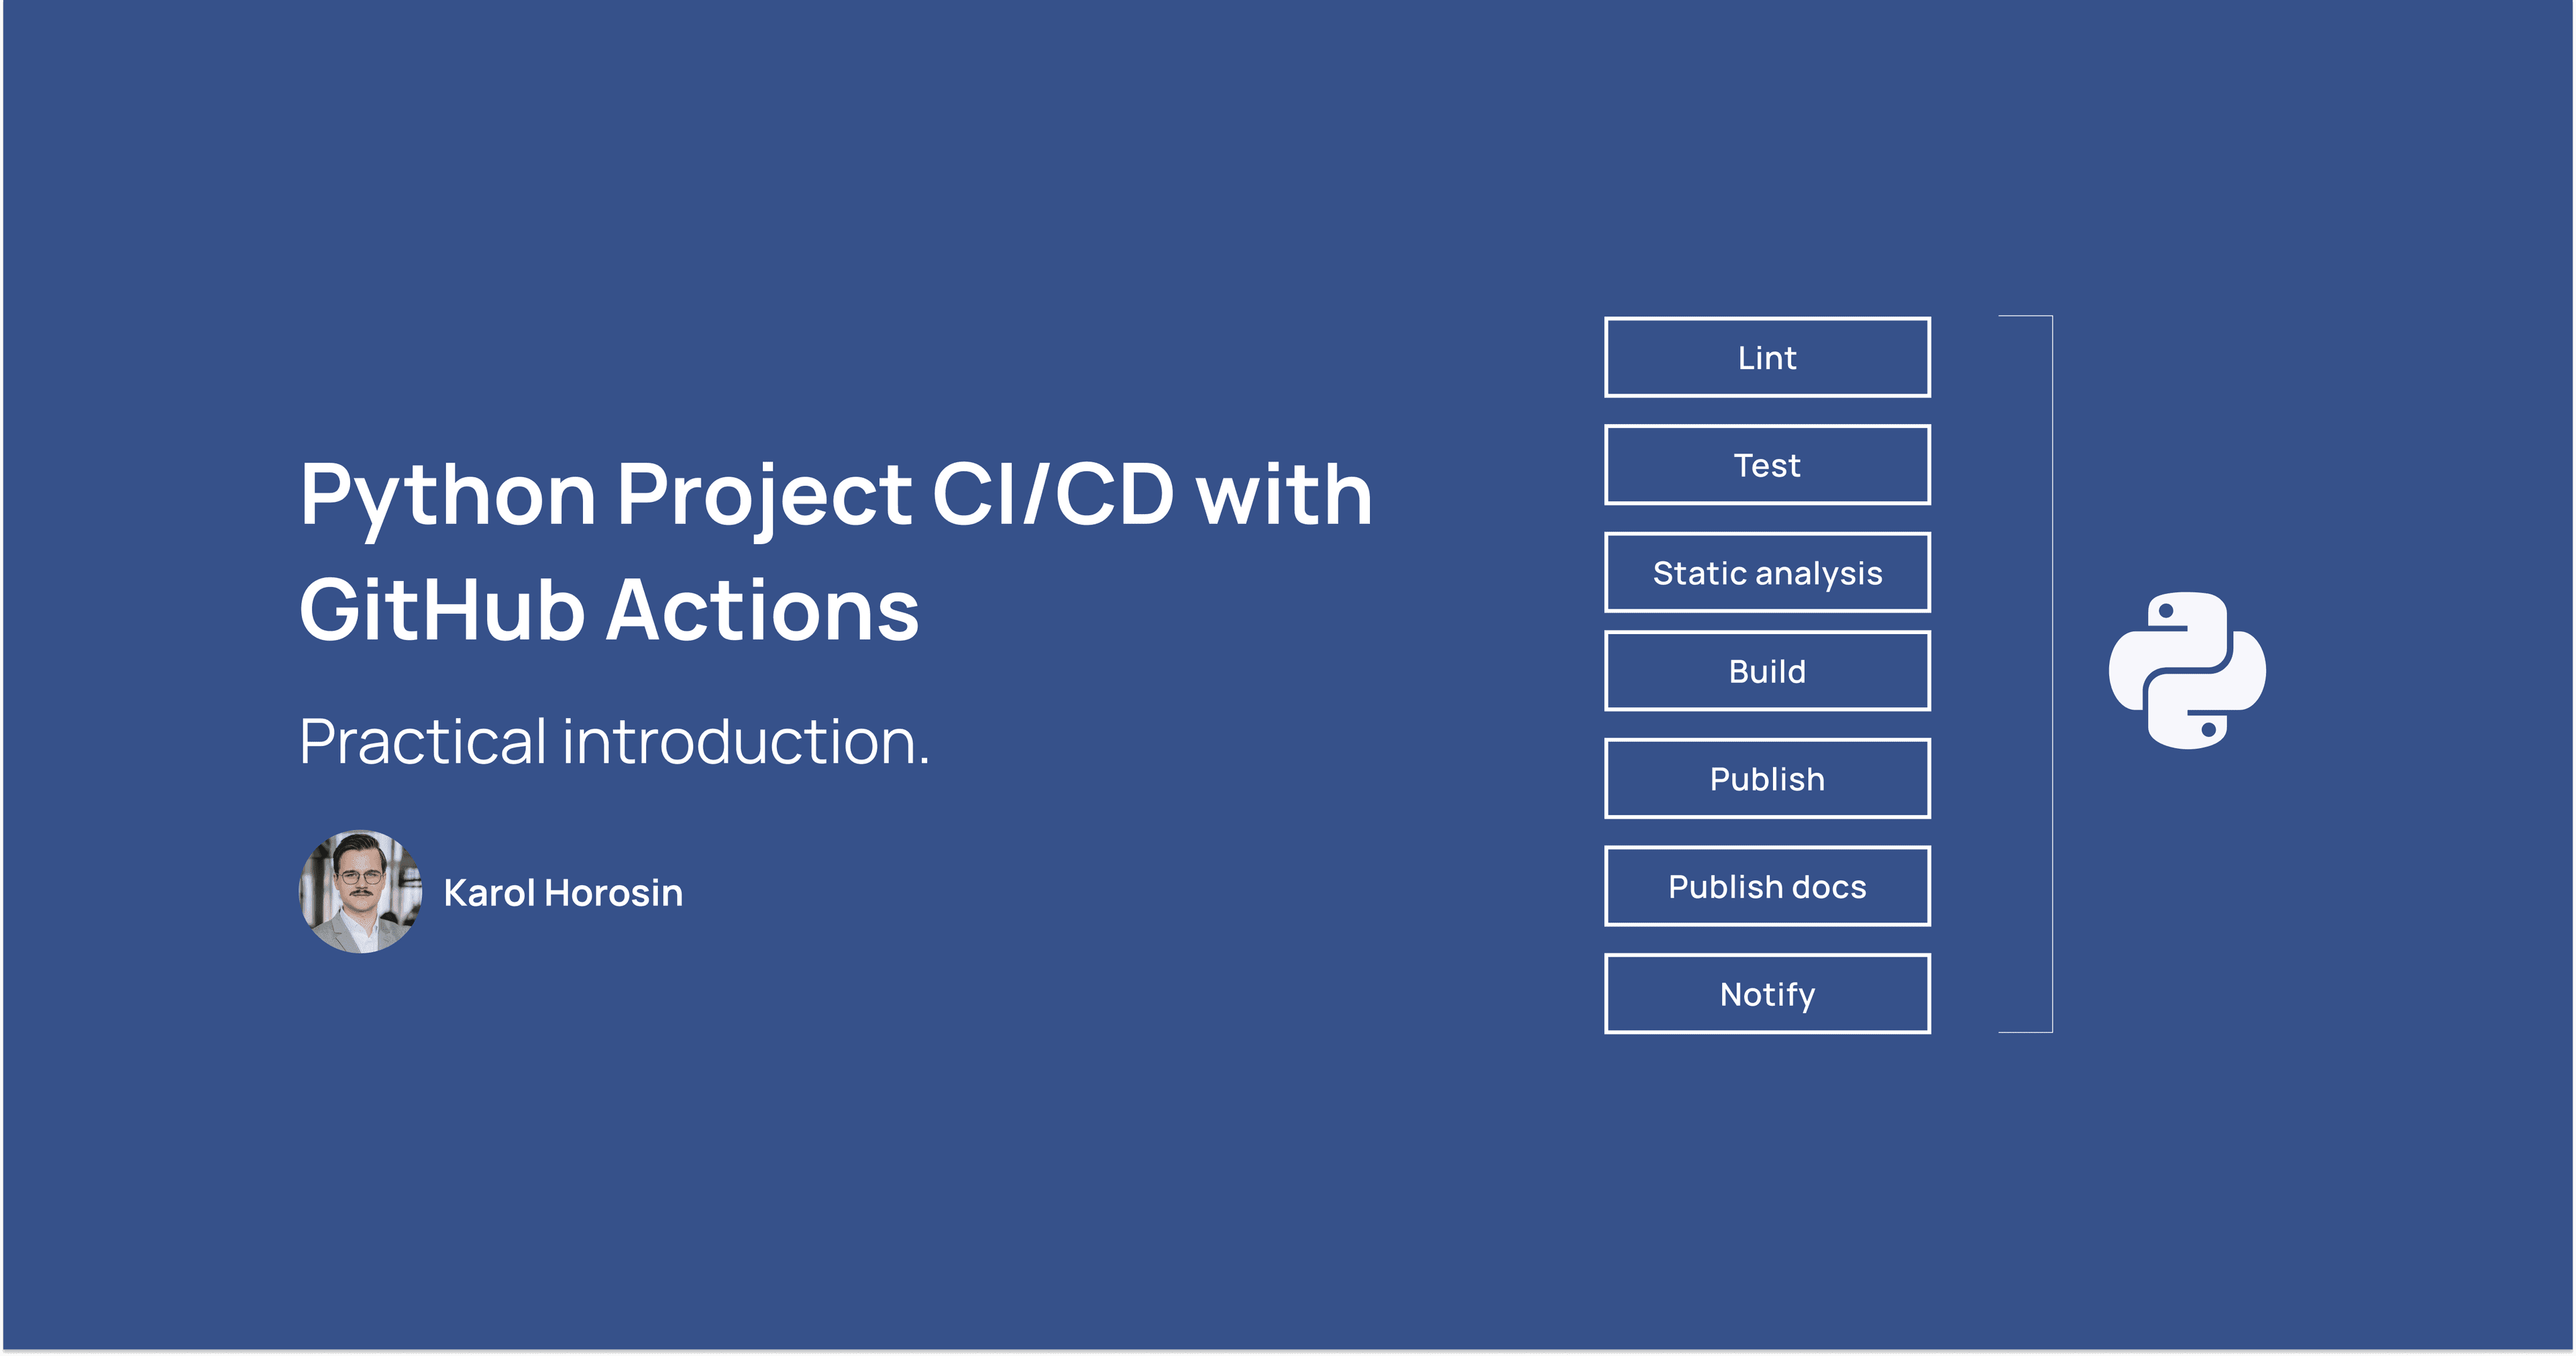
What should a pipeline contain?
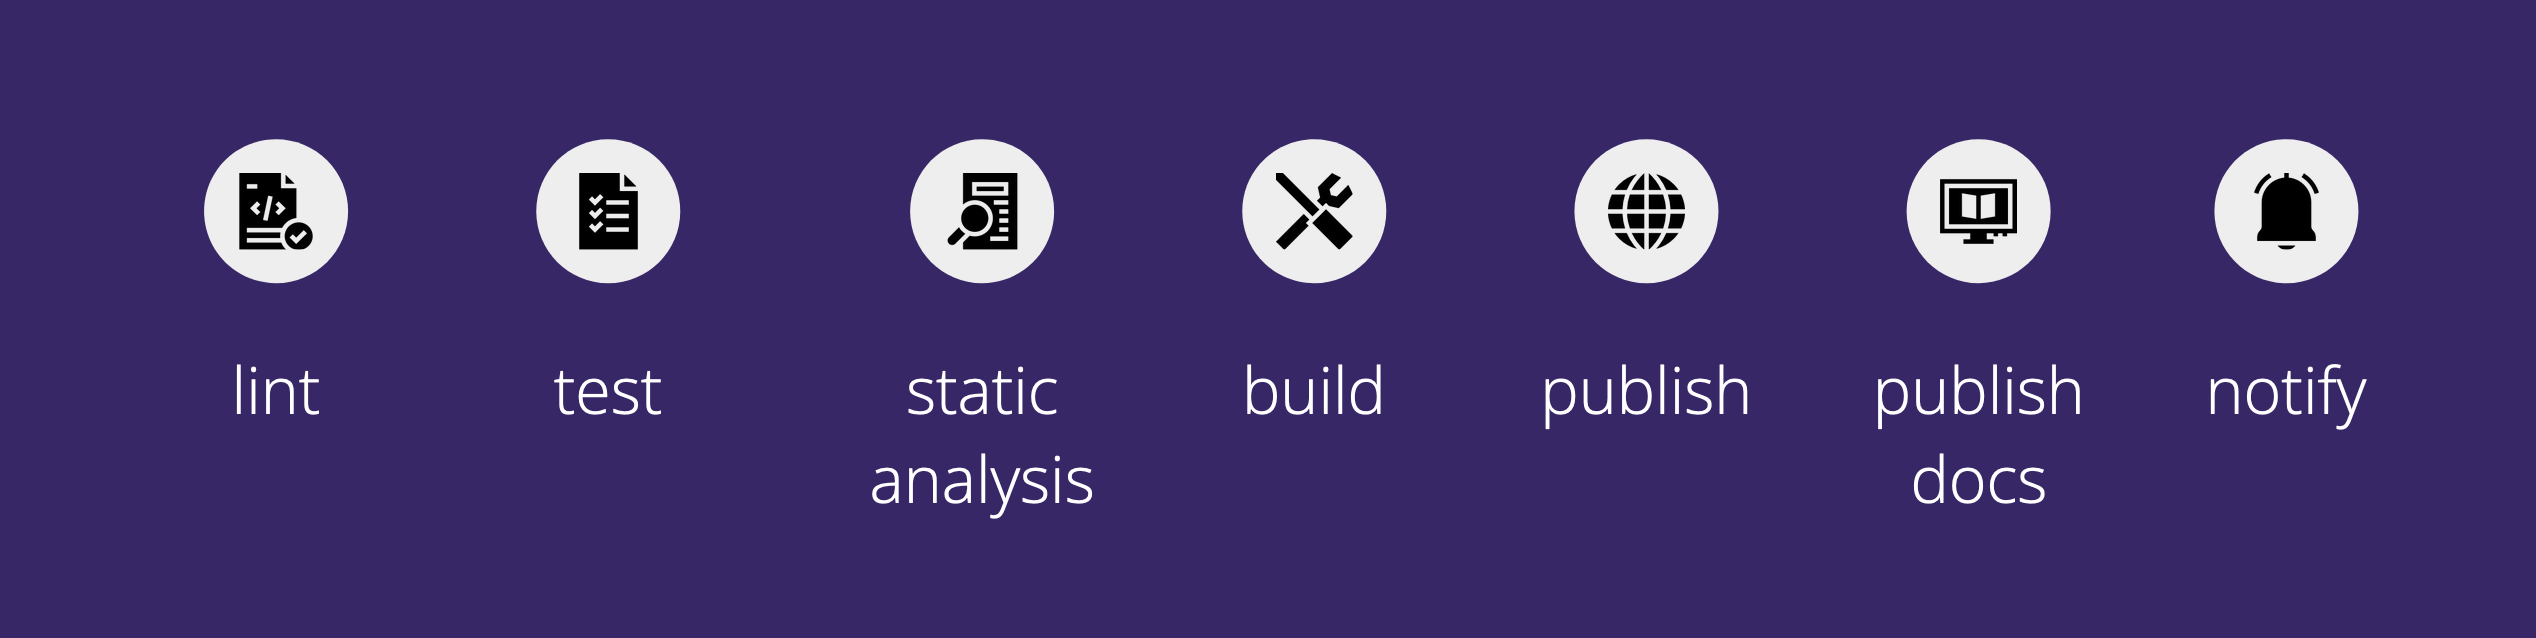
I have conducted a survey among developers I worked with in order to create a reasonable consensus on what should be automated in a CI pipeline. We've based our standards on twenty five responses in the survey.
CI/CD tools (free!)
Okay, that sounds great, but how much will I pay for all of this? Is this something I can use in a personal project? Will it be a costly choice for my company?
Luckily, in the age of SaaS, introducing an automated CI/CD pipeline is easier and cheaper than ever.
GitHub and Gitlab both maintain competitive workflow engines: GitHub Actions and Gitlab CI. This article focuses on using the former.
How much does it cost? It's free! Well, at least up to some point. In both products, pipelines for public projects are free. For private ones, there is a free CI-minutes quota. If you need more, you need to pay up or deploy a runner on your own infrastructure.
Let's code a pipeline!
Coding is an overstatement here. Let's define our CI/CD steps in a yaml file.
If you decide to expand the pipeline, you may want to split its config to multiple workflow files. In our case, single file is enough.
You can examine the final code and the sample python package code that was used on github.
Secrets
We are going to define several secret variables in order to authenticate with external services. Whenever you see the following in the yaml below
secrets.SECRET_NAME
define the secret in your project setting. Just go to Secrets > Actions and click "New repository secret". You can also define secrets at the team level.
Defining a workflow
Standard workflow configuration needs to include the name and conditions that trigger actions described in the file. Our on key specifies that the pipeline will be run on pushes to master branch.
name: Python workflow

on:
  push:
    branches: [ master ]
Job configuration
Next, we need to configure the job details. We call our job python_ci, and tell it to run under the latest version of ubuntu.
jobs:
  python_ci:

    runs-on: ubuntu-latest
    strategy:
      matrix:
        python-version: [3.7]
You can notice a matrix option in the config. It is used to specify the strategy to run the pipeline in different environments with different configurations. I am running the code only in python 3.7 but you can add more versions by just adding elements to the array - [3.7, 3.8, 3.9].
Basic setup
Firstly, we need to get our project's code and set up Python. We can do this using pre-made pipeline steps provided by GitHub. Whenever a step contains uses keyword, it is utilising a step made by someone else. Relative repository paths are supplied to uses keyword and follow {user}/{step-name}@{version} format.
    steps:
    - uses: actions/checkout@v2

    - name: Set up Python ${{ matrix.python-version }}
      uses: actions/setup-python@v2
      with:
        python-version: ${{ matrix.python-version }}
Install dependencies
Then, we need to install dependencies. To make this config applicable to more projects, I am installing flake8 and pytest explicitly, in case they are not included in requirements.txt file. The file is going to be used if it exists.
    - name: Install dependencies
      run: |
        python -m pip install --upgrade pip
        python -m pip install flake8 pytest
        if [ -f requirements.txt ]; then pip install -r requirements.txt; fi
Lint
Let's then lint our code. Flake8 will check for obvious errors, bad code style and suspicious code constructs. First invocation checks for critical errors. The second looks for non-breaking mistakes and only prints warnings.
    - name: Lint with flake8
      run: |
        flake8 . --count --select=E9,F63,F7,F82 --show-source --statistics
        flake8 . --count --exit-zero --max-complexity=10 --max-line-length=120 --statistics
Test
Another essential part of the pipeline is testing. In this case I am assuming you are using pytest to run your checks. I am also saving the coverage report in xml to later upload it to test result tracking service. Modify this accordingly if needed.
    - name: Test with pytest
      run: |
        pytest --cov --cov-report=xml
Coverage tracking with codecov
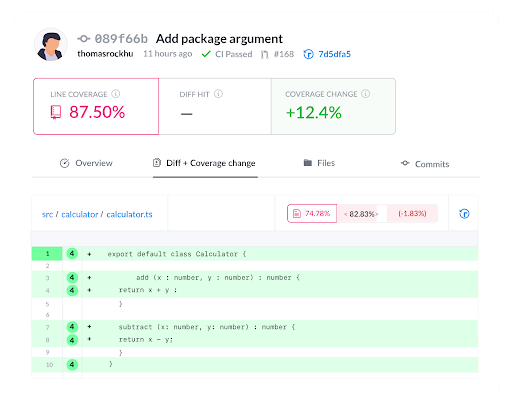
If you don't know Codecov, definitely check it out! It is a great tool for tracking your test results, monitoring quality improvements and providing useful metrics. We are using a pre-made action template codecov/codecov-action@v1 and supplying it the required configuration.
    - name: Upload coverage to Codecov
      env:
        CODECOV_TOKEN: ${{ secrets.CODECOV_TOKEN }}
      if: ${{ env.CODECOV_TOKEN }}
      uses: codecov/codecov-action@v1
      with:
        token: ${{ secrets.CODECOV_TOKEN }}
        file: coverage.xml
        name: ${{ matrix.os }}, python ${{ matrix.python-version }}
Check types with mypy
Another check we're going to use is type check with mypy. Don't worry, we won't annotate our Python code with types. Mypy can help you even if your code is not annotated. It can detect many common errors or inconsistencies.
    - name: Check types with mypy
      run: mypy src
Let's say you write a code that switches a variable type, which is widely considered a bad practice.
if __name__ == '__main__':
  tst = 'omg'
  tst = 0
Mypy will let you know that it's an error.
$ mypy src
src/main.py:3: error: Incompatible types in assignment (expression has type "int", variable has type "str)
Found 1 error in 1 file (checked 1 source file)
Build a package
If your project is a python package, you can build it using the following config. In other cases, use your project-specific commands.
    - name: Install pypa/build
      run: python -m pip install build

    - name: Build a binary wheel and a source tarball
      run: >-
        python -m
        build
        --sdist
        --wheel
        --outdir dist/
        .
Publish a package
In this case, we're going to publish a package to pypi. Again, we are using existing action template from pypa.
    - name: Publish package
      uses: pypa/gh-action-pypi-publish@27b31702a0e7fc50959f5ad993c78deac1bdfc29
      with:
        user: __token__
        password: ${{ secrets.PYPI_API_TOKEN }}
Send a notification to a Slack channel
If our build and publish went all well, we can notify ourselves or our team on Slack.
    - uses: act10ns/slack@v1
        with:
          status: ${{ job.status }}
          steps: ${{ toJson(steps) }}
          channel: '#workflows'
        env:
          SLACK_WEBHOOK_URL: ${{ secrets.SLACK_WEBHOOK_URL }}
Build and publish documentation
If you are using a standard documentation tool like Sphinx, you can build and deploy the documentation in actions as well. In this case we're using a standard make html command. It is followed by deployment to GitHub pages, using a pre-made action step.
Have a look at the original pages deploy step documentation if you want to know more: https://github.com/peaceiris/actions-gh-pages
Note: secrets.GITHUB_TOKEN is automatically created by GitHub, you don't need to define it yourself.
    - name: Documentation
      run: cd docs && make html

    - name: Deploy documentation
      uses: peaceiris/actions-gh-pages@v3
      with:
        github_token: ${{ secrets.GITHUB_TOKEN }}
        publish_dir: ./docs/_build/html
Summary
That's it! Your repo now has a basic CI/CD setup. Keep in mind this is just an example and your mileage may vary. We skimmed though many implementation details and nuances so be sure to check out official docs and dive deeper.
Complete code
https://github.com/horosin/python-standard-ci
Discussion
Is there anything else you automate in your CI/CD? Would you like to automate something I didn't describe? Let's talk about it in the comments!
Cover photo by Mr Ambro from Pexels